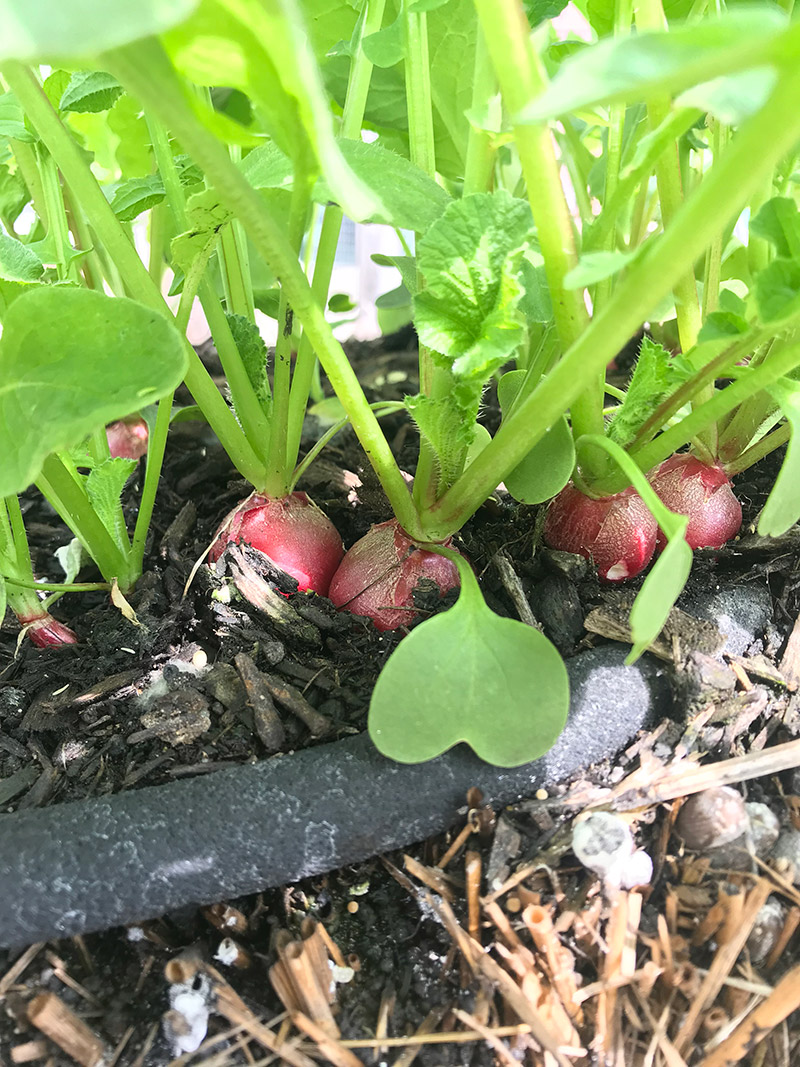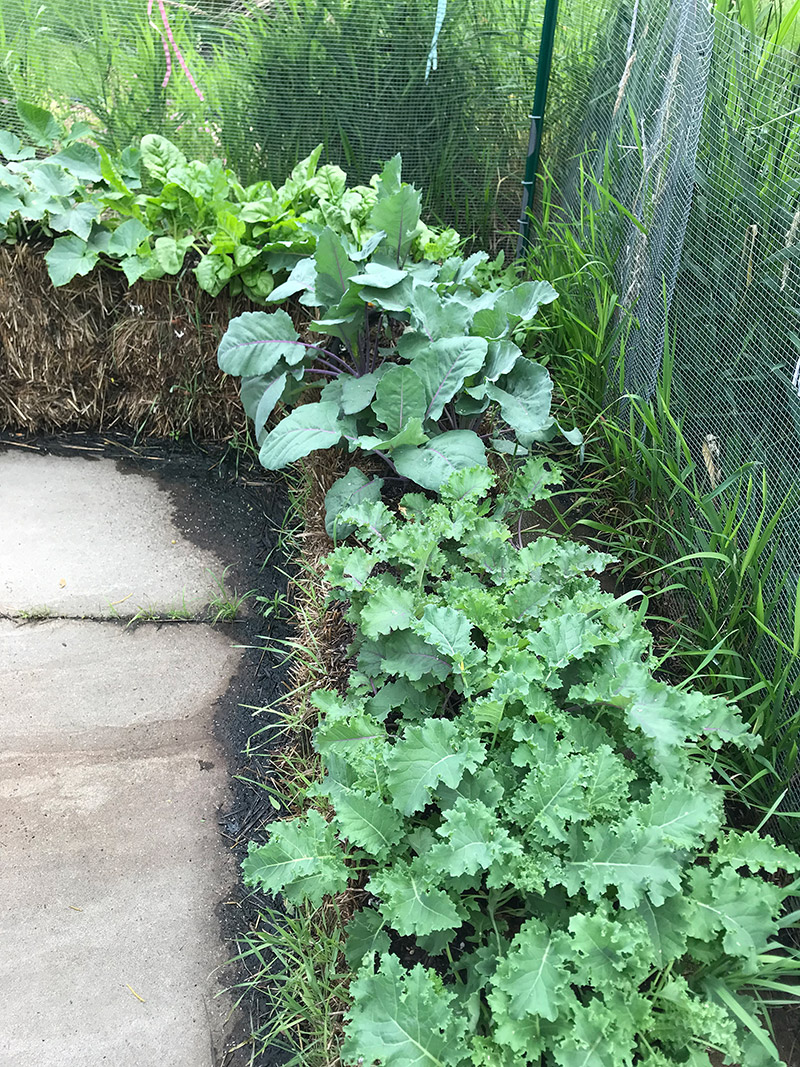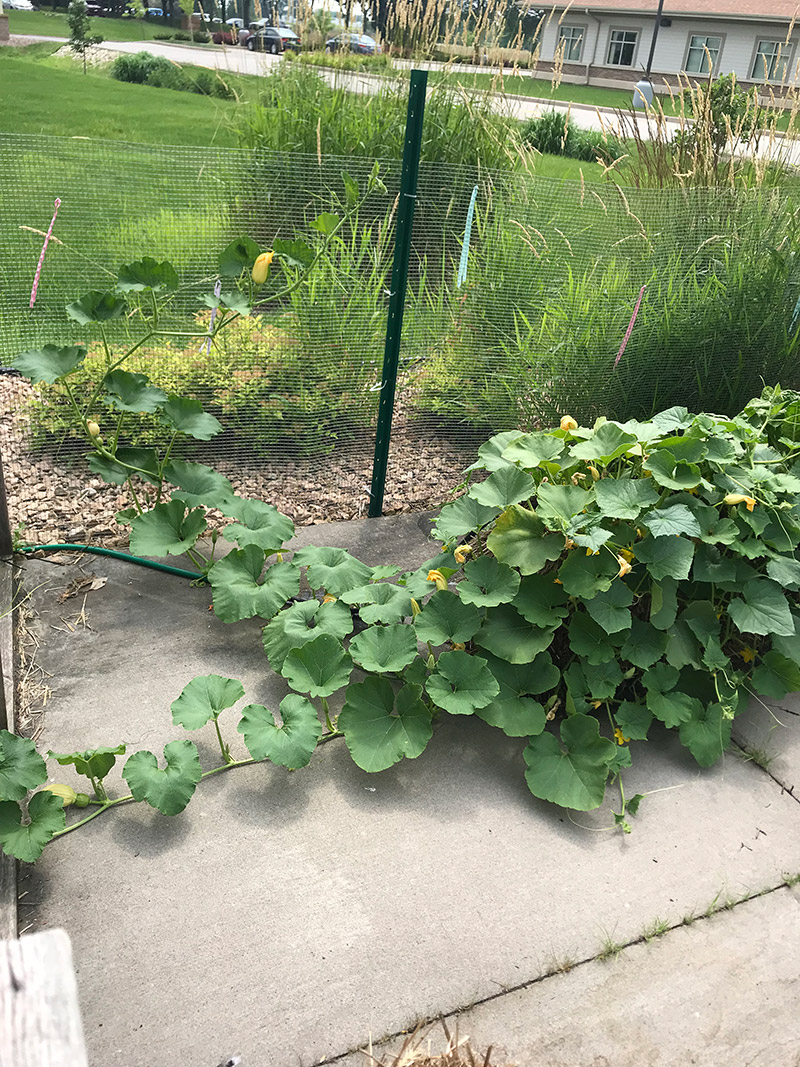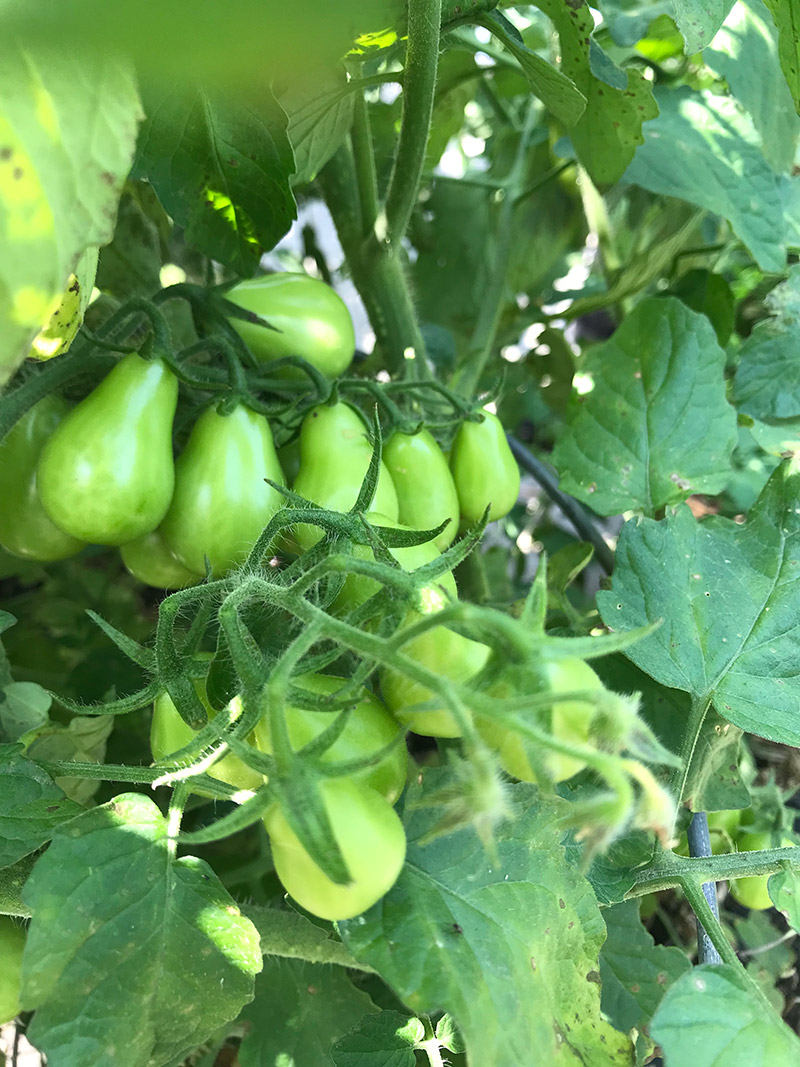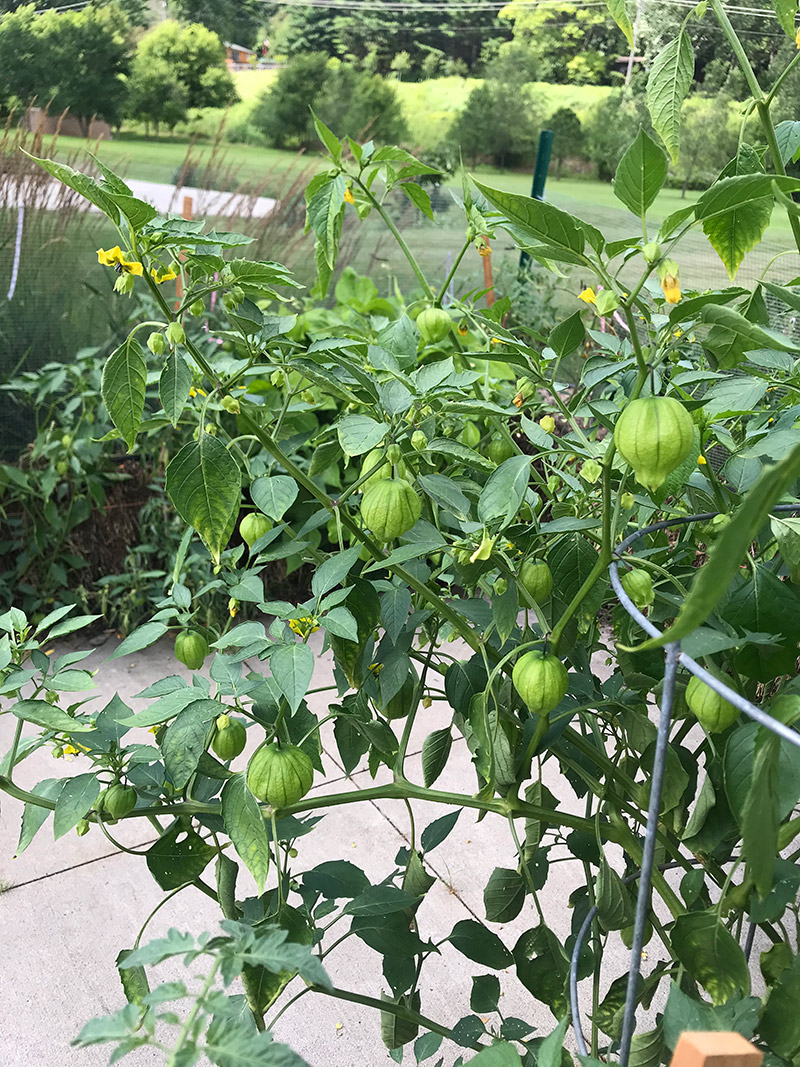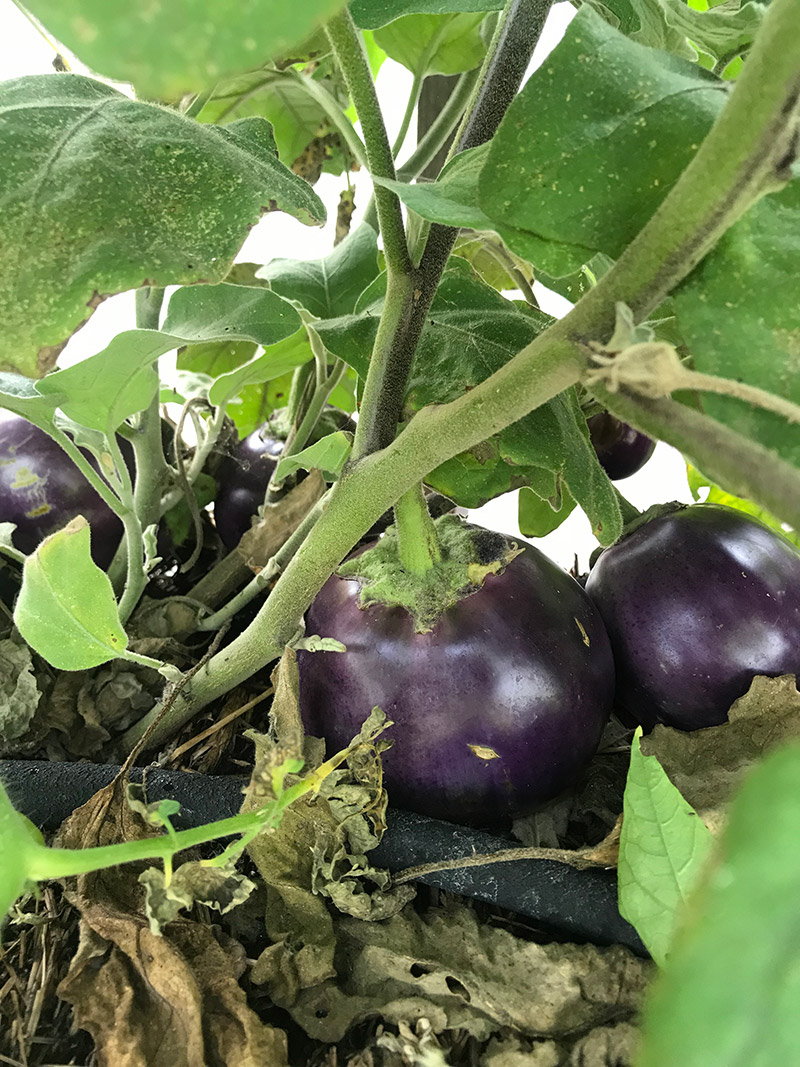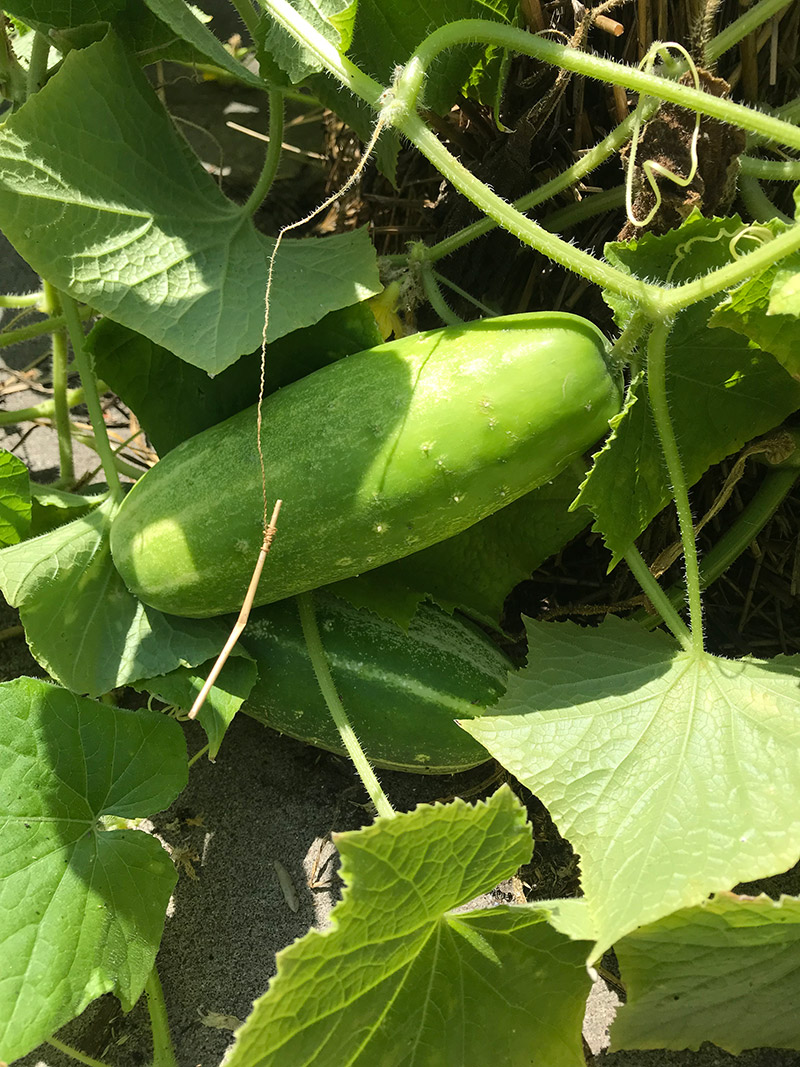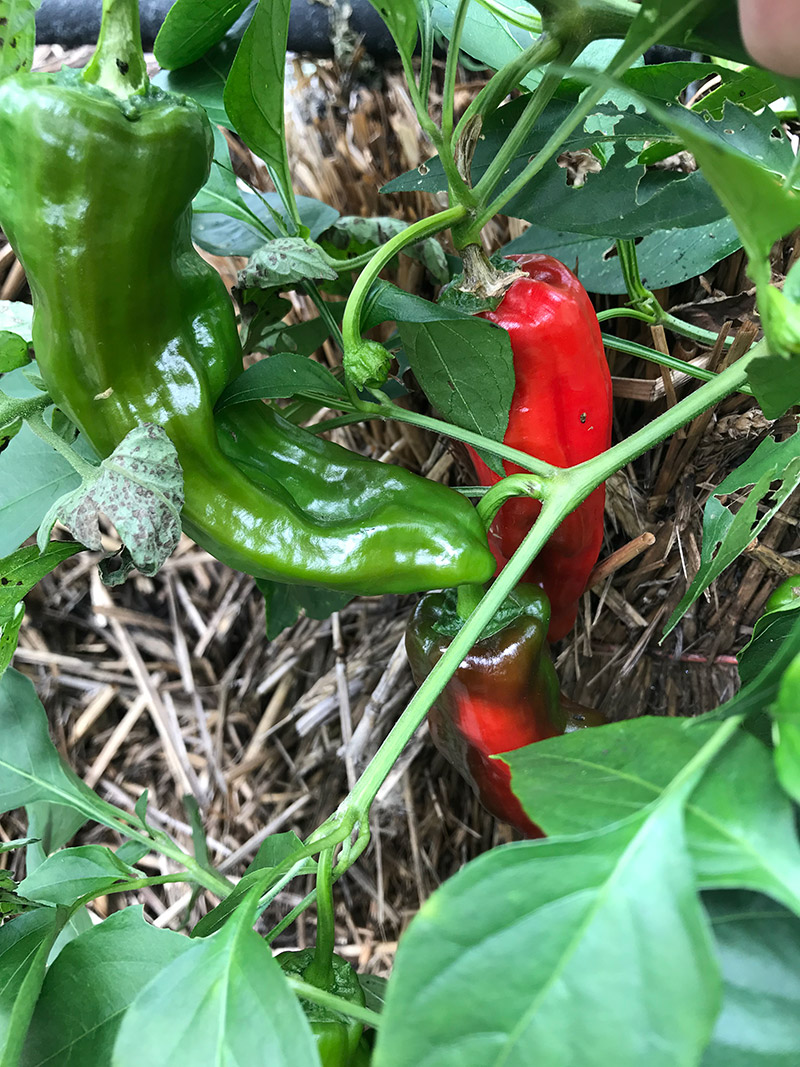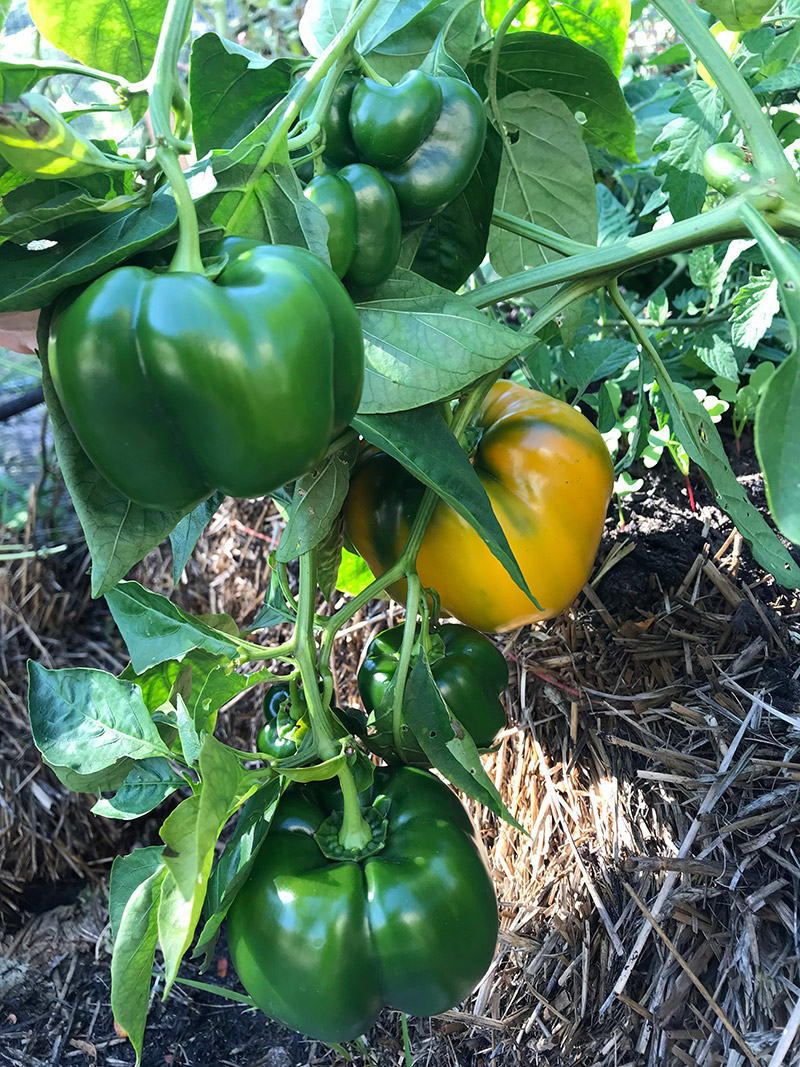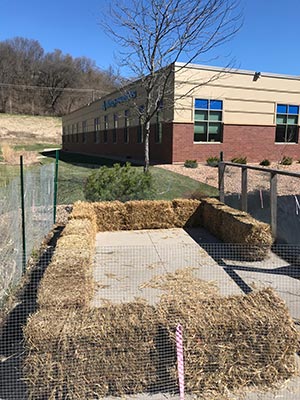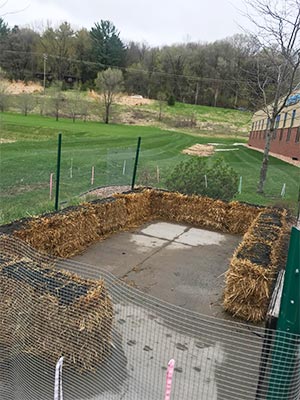
Allergy Associates of La Crosse was looking for innovative ways to improve employee wellness, and we decided that a straw bale garden would be a beneficial way to teach employees about gardening and healthy eating. In May 2016, a straw bale garden was set up on a patio behind our offices, and we’ve continued this wellness activity every year since.
It’s not only beneficial for our employees. At our clinic, we treat life-threatening food allergies safely and effectively with sublingual immunotherapy, or allergy drops. For those eliminating foods from their diet due to food allergies, it’s important to add in the nutrients that they are abruptly missing. Creating an organic straw bale garden could be a great way for those with food allergies to grow foods with the nutritional elements they need.
Straw bale gardening is great for those with poor soil or limited sunlight in their yard. Bales can be placed anywhere — on grass or cement.
The raised bales are beneficial for people with back problems or other limitations making it difficult to bend over or be down on their hands and knees.
Straw bales create minimal to NO weeds, making a straw bale garden less labor intensive.
Straw bales- Tarp to protect cement from staining
- Soaker hose with automatic timer
- Fertilizer
- Plants, seeds, soil
- Fence posts and fencing to keep animals out
- Basic gardening tools — trowel, gloves, etc.
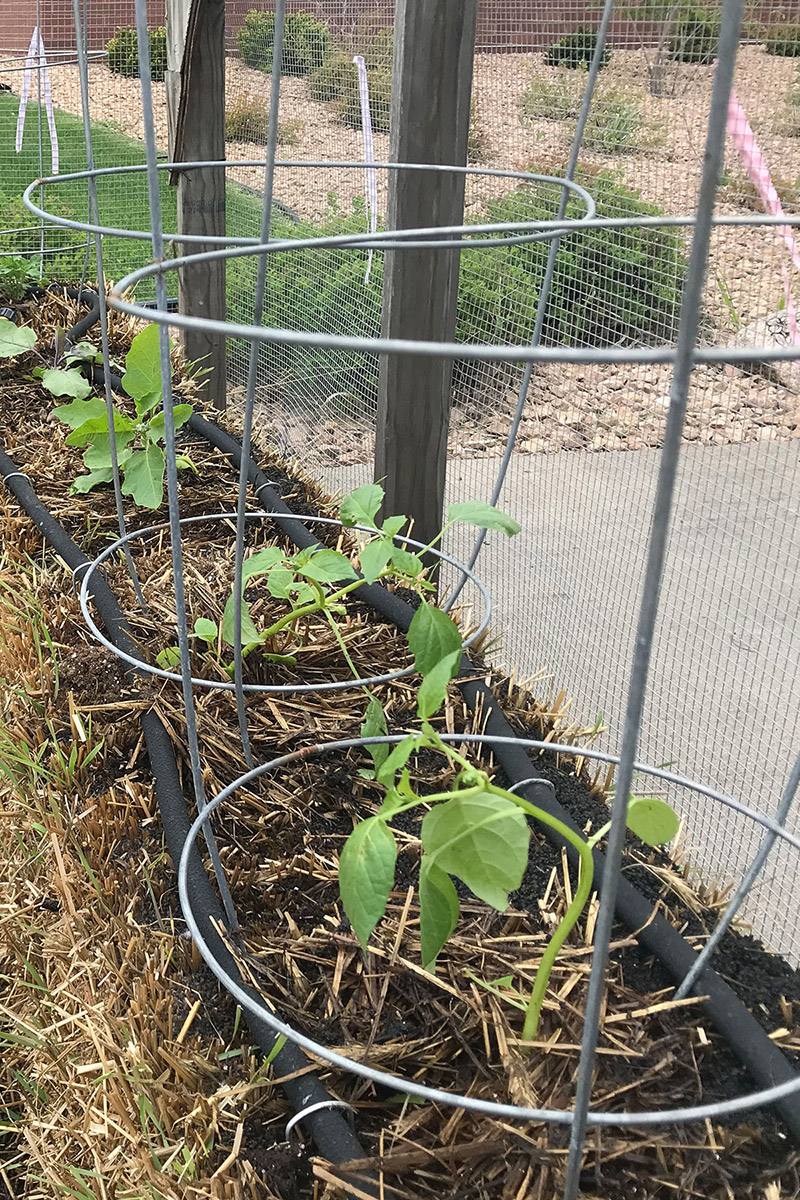
- Tomato cages for large plants
We are not experts in straw bale gardening by any means, but have had bountiful gardens over the years. Here is the basic process we have followed.
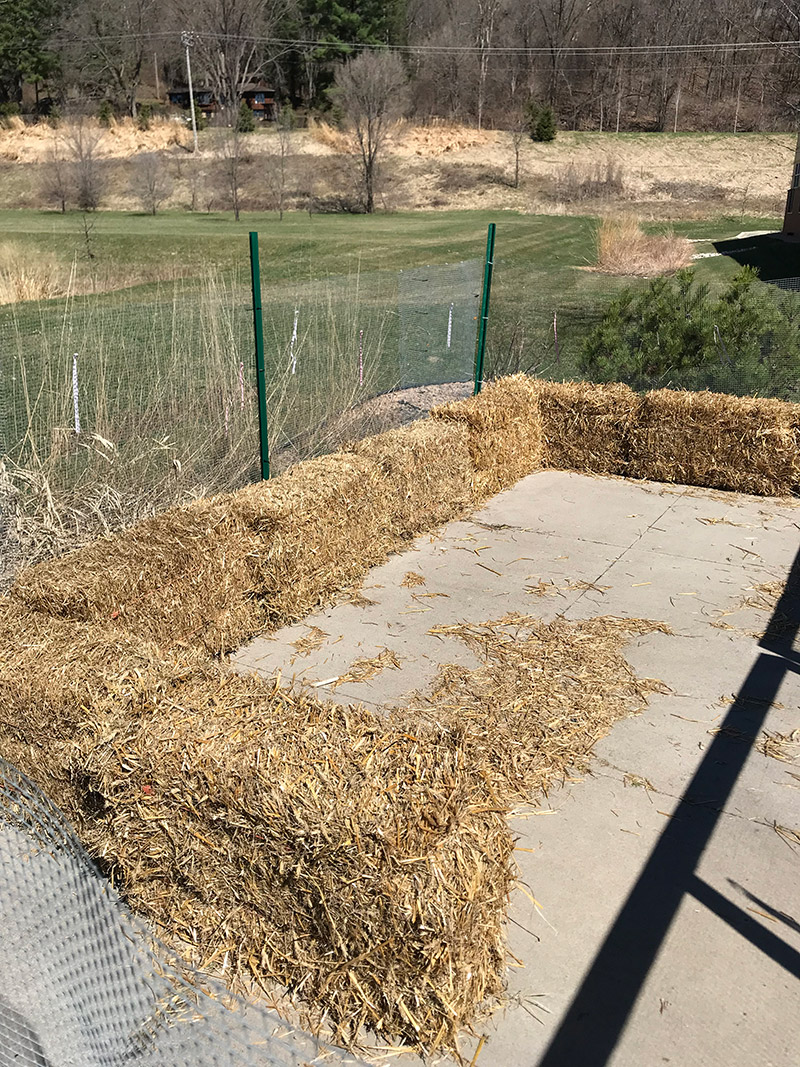
- Select a site for the garden with access to sun and water. We used a 10’ x 14’ area.
- Plan what you would like to grow. Creating a map helps.
- Purchase STRAW bales, not hay bales. Straw bales will be weed free, whereas hay bales will most likely contain seeds, resulting in weeds.
- Arrange straw bales where you would like them permanently situated for the growing season. Once you begin the conditioning process, it will be too hard to relocate them.
- Make sure the bales are situated with the cut hay side up. They will look like the tops of straws.
- Begin the conditioning process.
- Plant starter plants.
- Water and tend plants.
- Harvest and eat fresh vegetables!
- At the end of the season, compost bales in a garden or lawn for nutrient rich mulch.
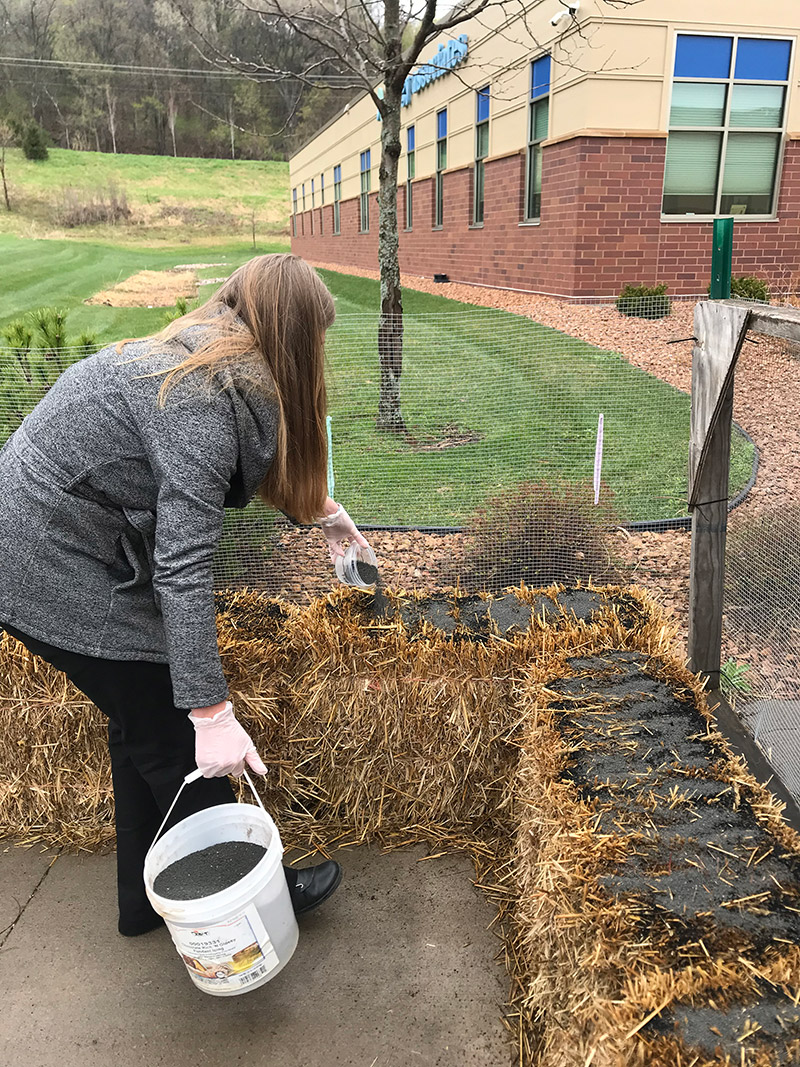
Day 1: 2-3 cups blood meal fertilizer, water to saturation
Day 2: water to saturation
Day 3: 2-3 cups blood meal fertilizer, water to saturation
Day 4: water to saturation
Day 5: 2-3 cup blood meal fertilizer, water to saturation
Day 6: water
Day 7: 1.5 cups blood meal fertilizer, water
Day 8: 1.5 cups blood meal fertilizer, water
Day 9: 1.5 cups blood meal fertilizer, water
Day 10: 3 cups Milorganite fertilizer, water
After conditioning the straw bales, wait until the bales heat up prior to planting. Depending on the temperature outside, the temperature inside the bale may exceed 100°F. This will vary greatly depending on your weather. The goal is to have the inside of the bales heat up to ensure bacteria begins to grow, so the bale can nourish your plants.
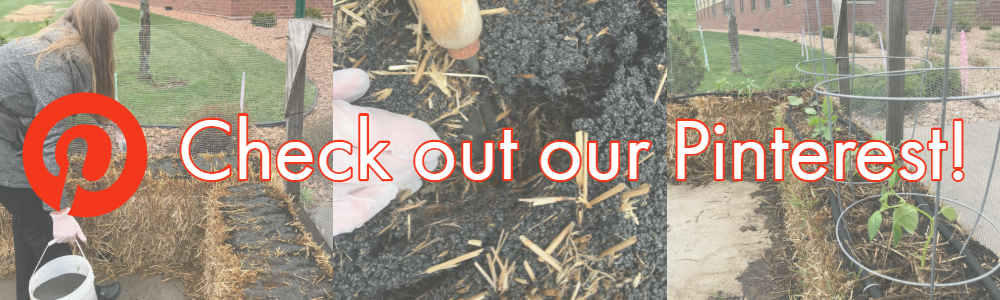
Planting is simple. Using starter plants, insert a trowel into the bale and rock back and forth to create a small opening. You may need to remove a small portion of the straw. Place a small amount of soil in the opening, place the plant in the hole and cover with straw that was removed.
You can find pictures and videos of every step of the process on our Straw Bale Gardening Pinterest board. Find updates on our conditioning, planting, and growing seasons!
Our registered dietitian nutritionist, Emily Melby, explains what has and hasn’t worked well for our Organic Straw Bale Garden.
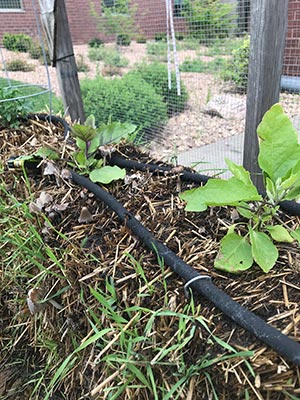
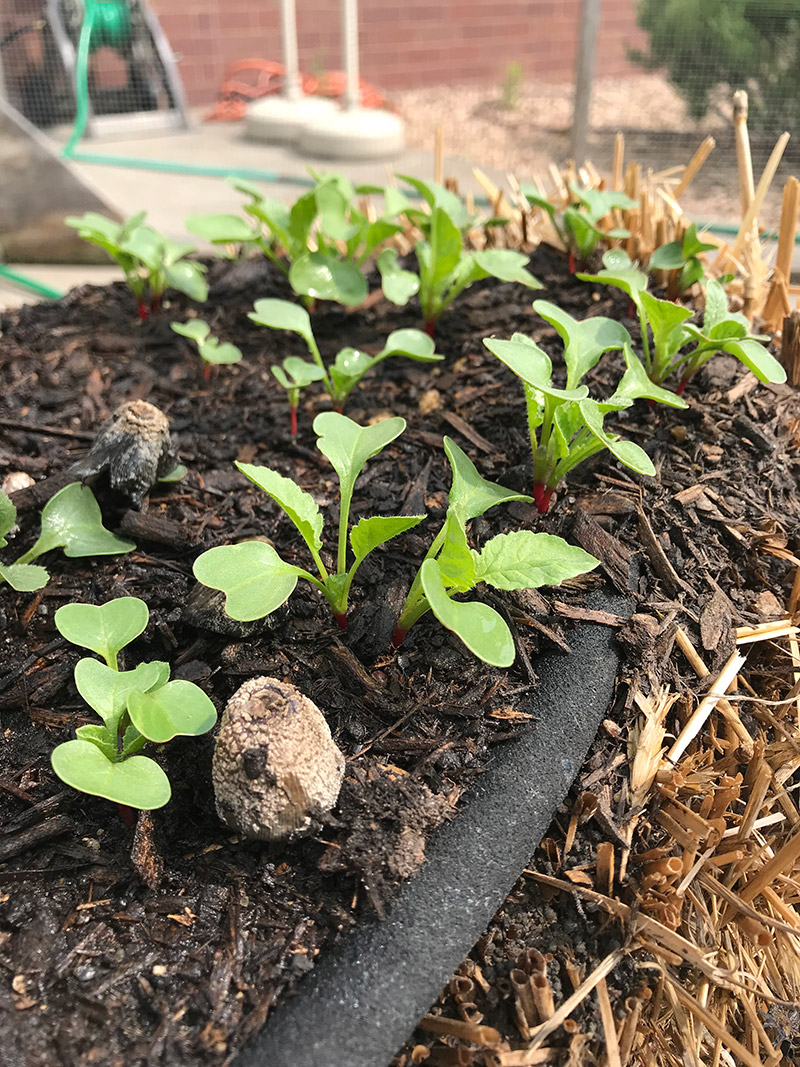
Growing from seeds! It’s the second year I’ve done seeds and they are coming up pretty well. Many resources recommend not doing seeds until you are well established, but ours have been successful.
Having a soaker hose and automatic timer has worked very well. Since our garden is at our workplace, we aren’t always able to come in and water it on the weekends. Having the soaker hose and timer has eliminated that need.
Cherry tomatoes have grown better than heirloom tomatoes because they are less heavy. Avoiding top heavy plants is ideal.
Bush beans have done really well. I wasn’t able to do a trellis like some do in their yards, so I stuck with bush beans as I don’t have to worry about them growing upwards.
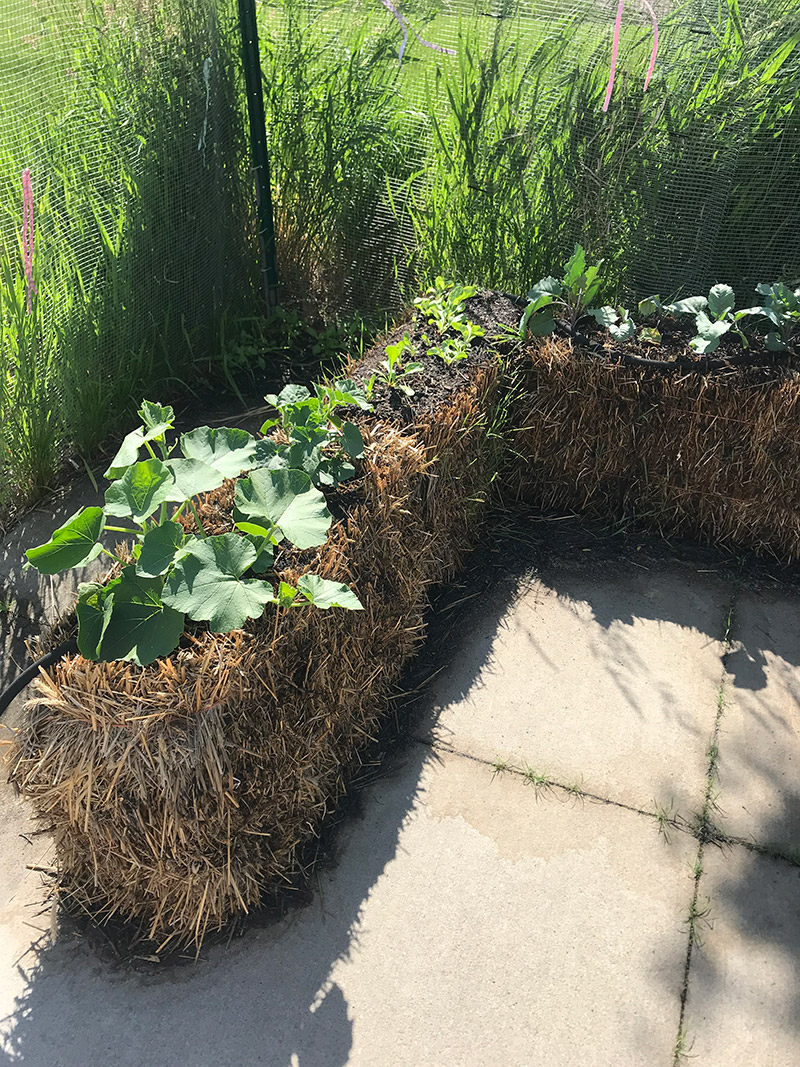
I have trained cucumbers to grow up the fence, rather than up a trellis. It’s worked really well and requires less materials.
Keeping critters out. The first year we had a nylon fence around the garden, and little critters were able to get through, live in the bales, and eat the food. Now we have upgraded to a metal fence.
We are on a cement slab, which is completely fine for growing. But it does make it difficult because we weren’t able to dig the fence into the ground, and certain small animals can work their way under.
We tried to grow herbs on the sides of the bales as many gardeners do, but ours did not really thrive, so we haven’t done it since.
For some reason, snap peas haven’t thrived in our garden, even when I train them to grow up the fence. Bush beans have worked much better for us.